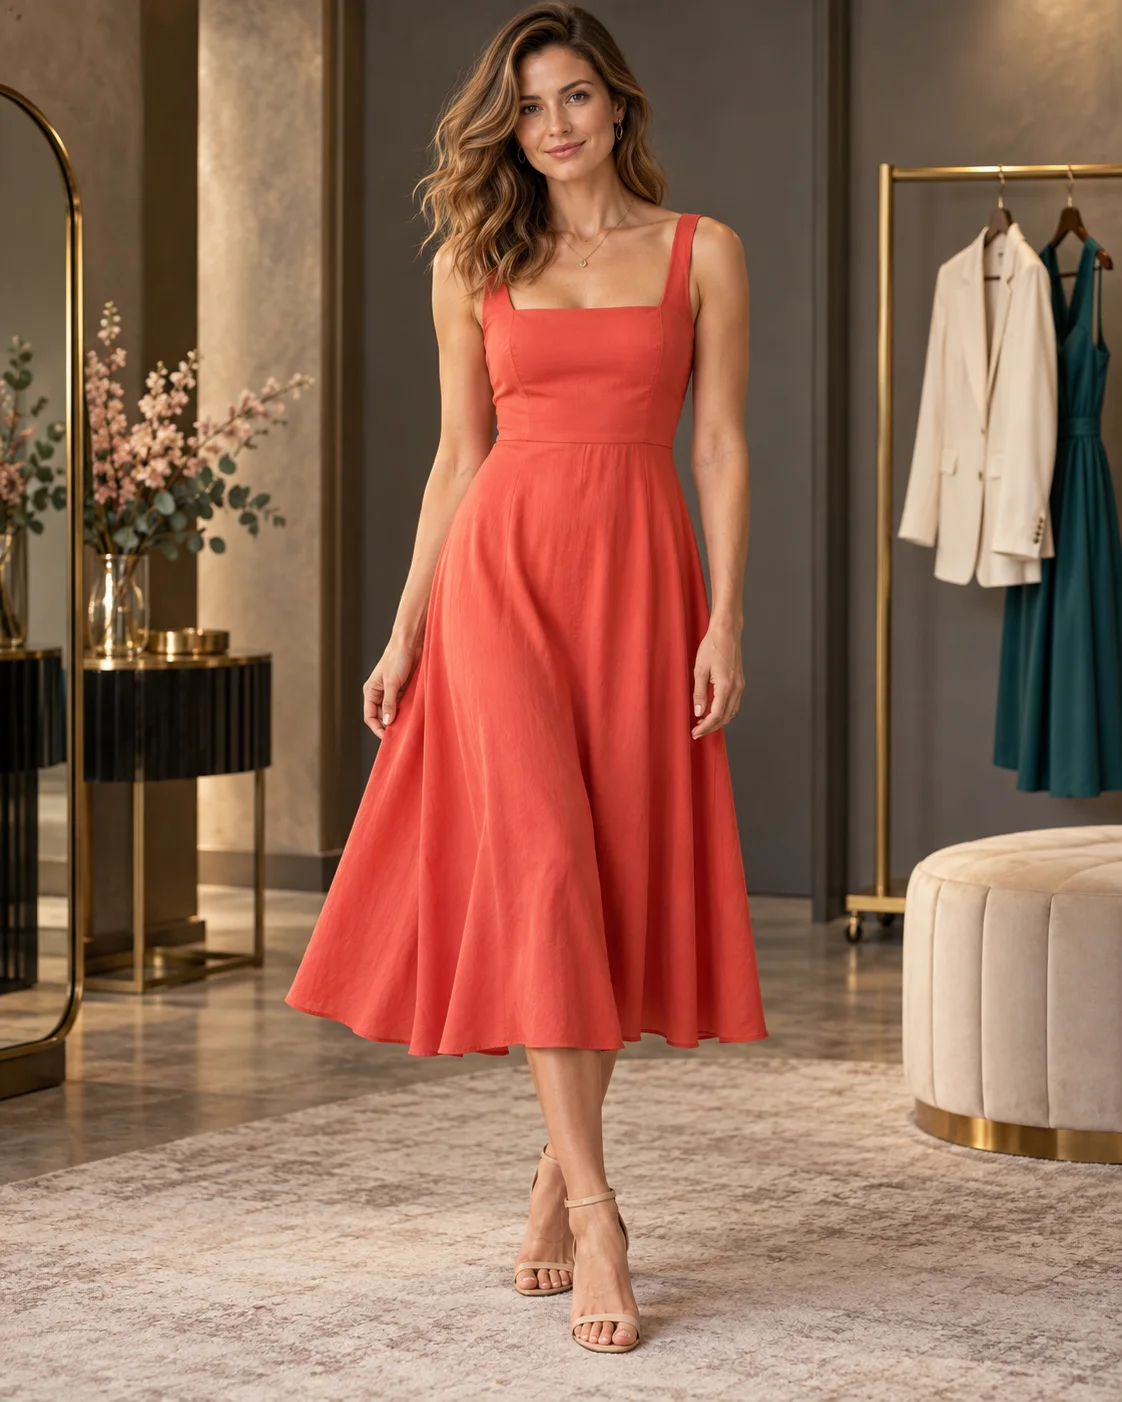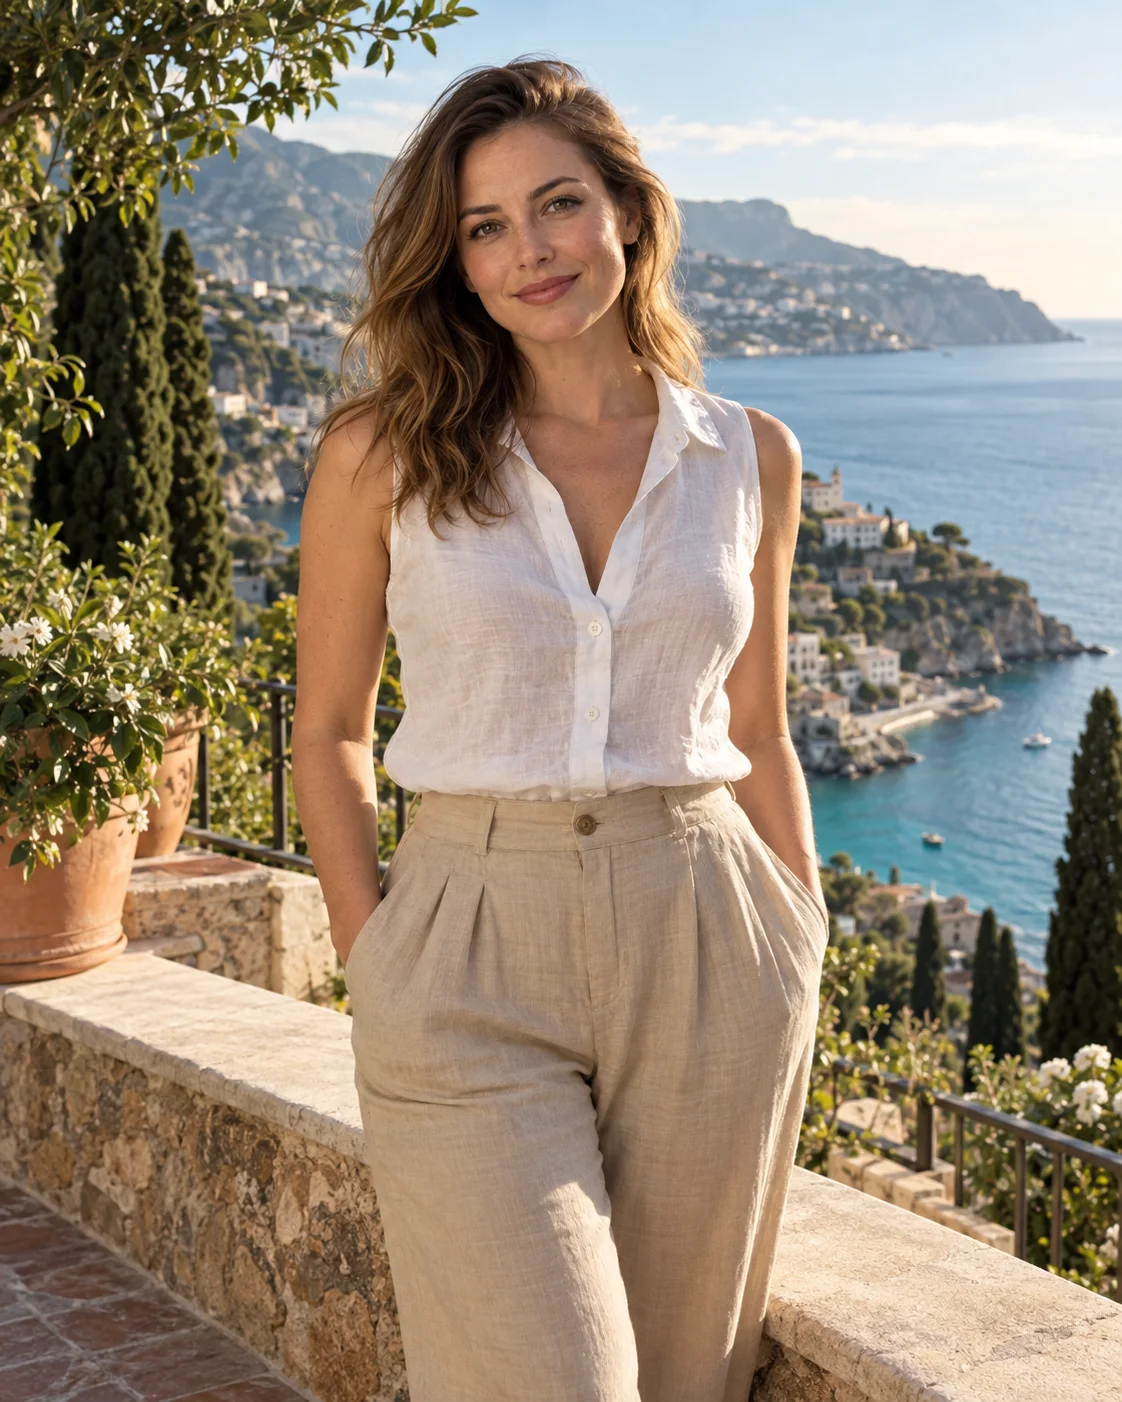
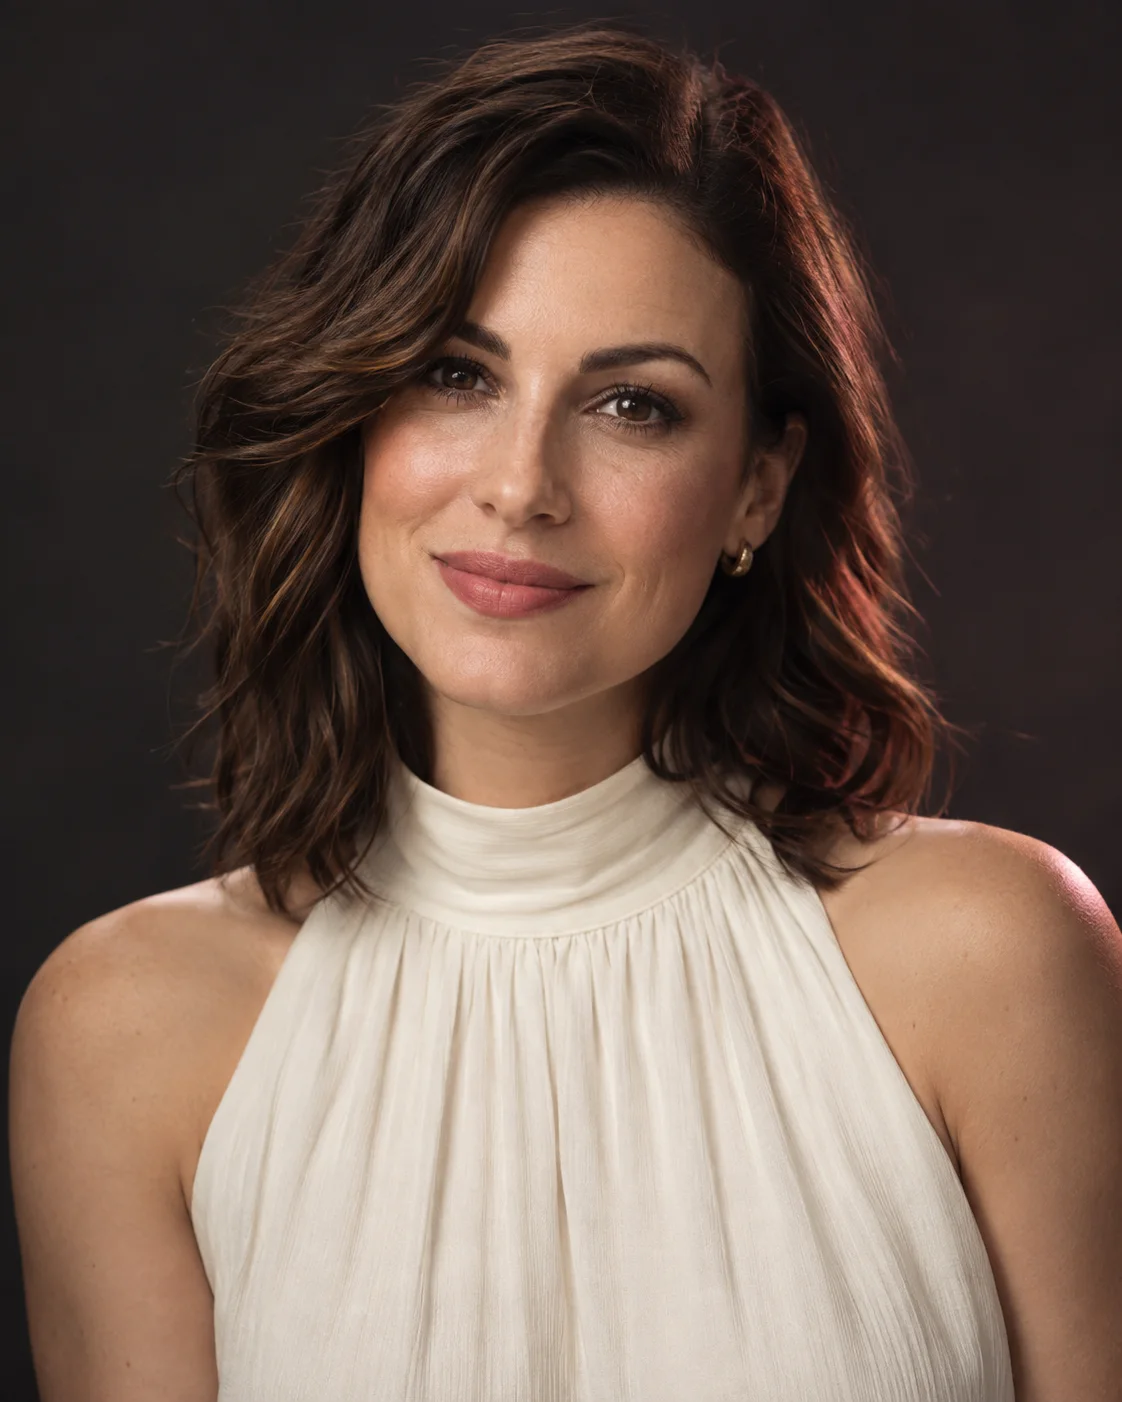
Try a different light on your portrait
Upload a portrait of one adult, then choose a lighting style or describe the light you want. Try a softer studio treatment, warmer sunlight or a more dramatic shadow.
The styles also set a mood: Rembrandt and Black & white read as studio portraits, while Golden hour and Backlight feel like outdoor light.
Choose the light that suits the photo
The choices are Golden hour, Softbox, Rembrandt, Neon night, Black & white, Candlelight and Backlight. For a restrained change, start with Softbox or describe gentle light from one side. Neon night introduces stronger color, while Black & white lets you concentrate on light and dark areas.
Choose one main direction first. Then use the extra-details field to describe the strength of the shadows or where you’d like the light to fall. “Soft light from the left” is easier to judge than several competing light sources in one request.
Start with a face you can see clearly
Use a sharp portrait with the face visible, rather than one hidden by hair, sunglasses or deep shadow. A completely dark area gives you little original detail to compare with the result. If you have a sharper photo available, start with that one.
Light can also change how features appear. A cheek may look more pronounced under side light; softer light can reduce contrast. Check whether a difference comes from the shadows or whether the shape itself has changed.
Try the same lighting with either model
Flux 3 and Seedream 5.0 Pro can both use your portrait and lighting description. Look at shadow placement, color and skin texture rather than assuming the model name tells you which version will suit you.
Standard and High quality are available with either model. Check the portrait itself after generation; selecting High doesn’t ensure a closer likeness or correct lighting.
Resize without losing the face
If you shrink a portrait to fit Flux 3’s 4 megapixel limit, keep the chin and hairline inside the crop.
A little space around the head also leaves room for the light to fall off naturally at the edges of the frame.
Check the details before keeping a version
Compare the eyes, nose, lips and hairline with the original. Check where the shadows fall and whether the face still looks natural to you. With Backlight, look at the edge around the hair and shoulders. With Black & white, check that the face remains distinct from the background. If the result drifts too far, simplify the lighting description before trying another version.