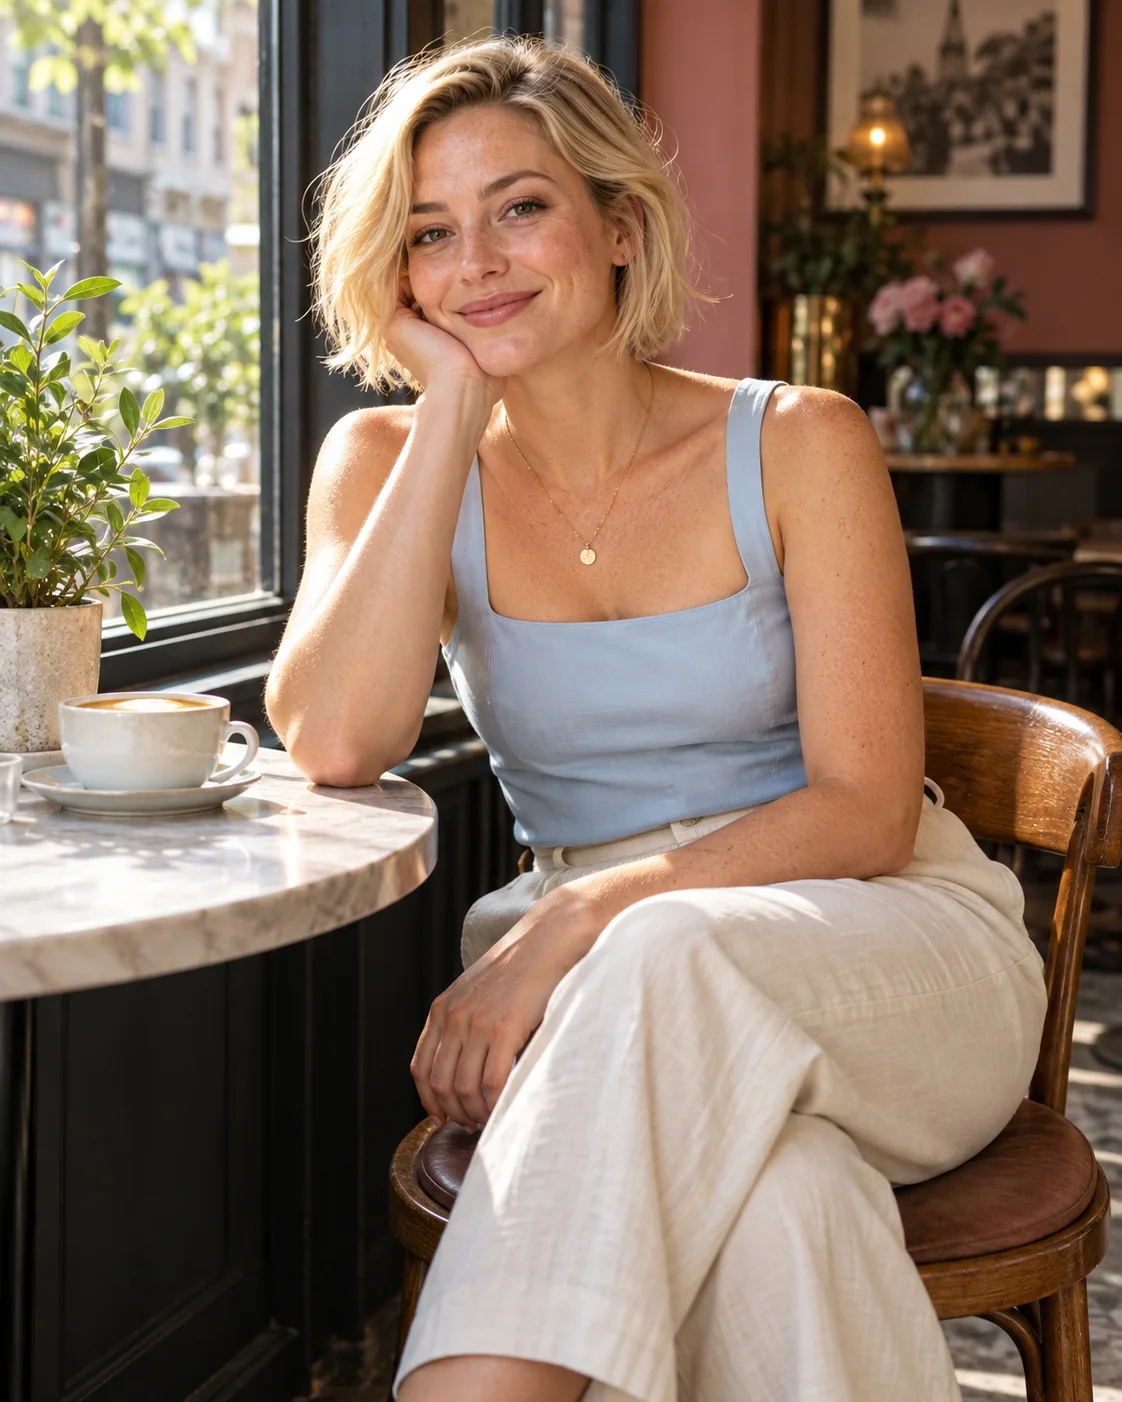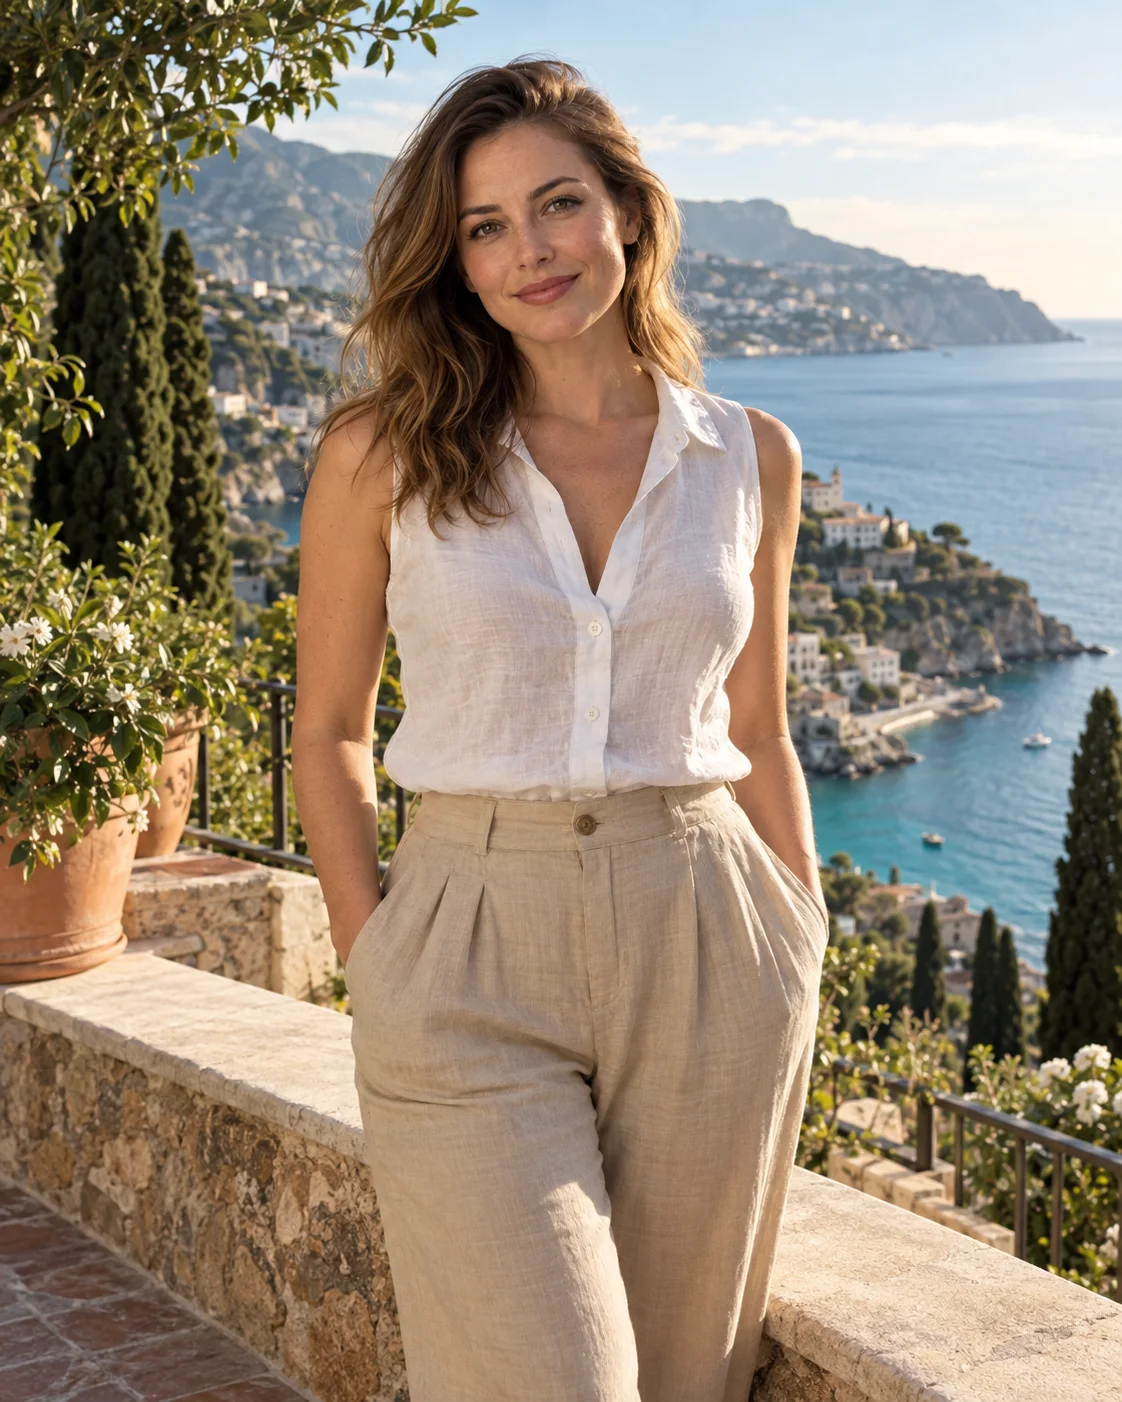
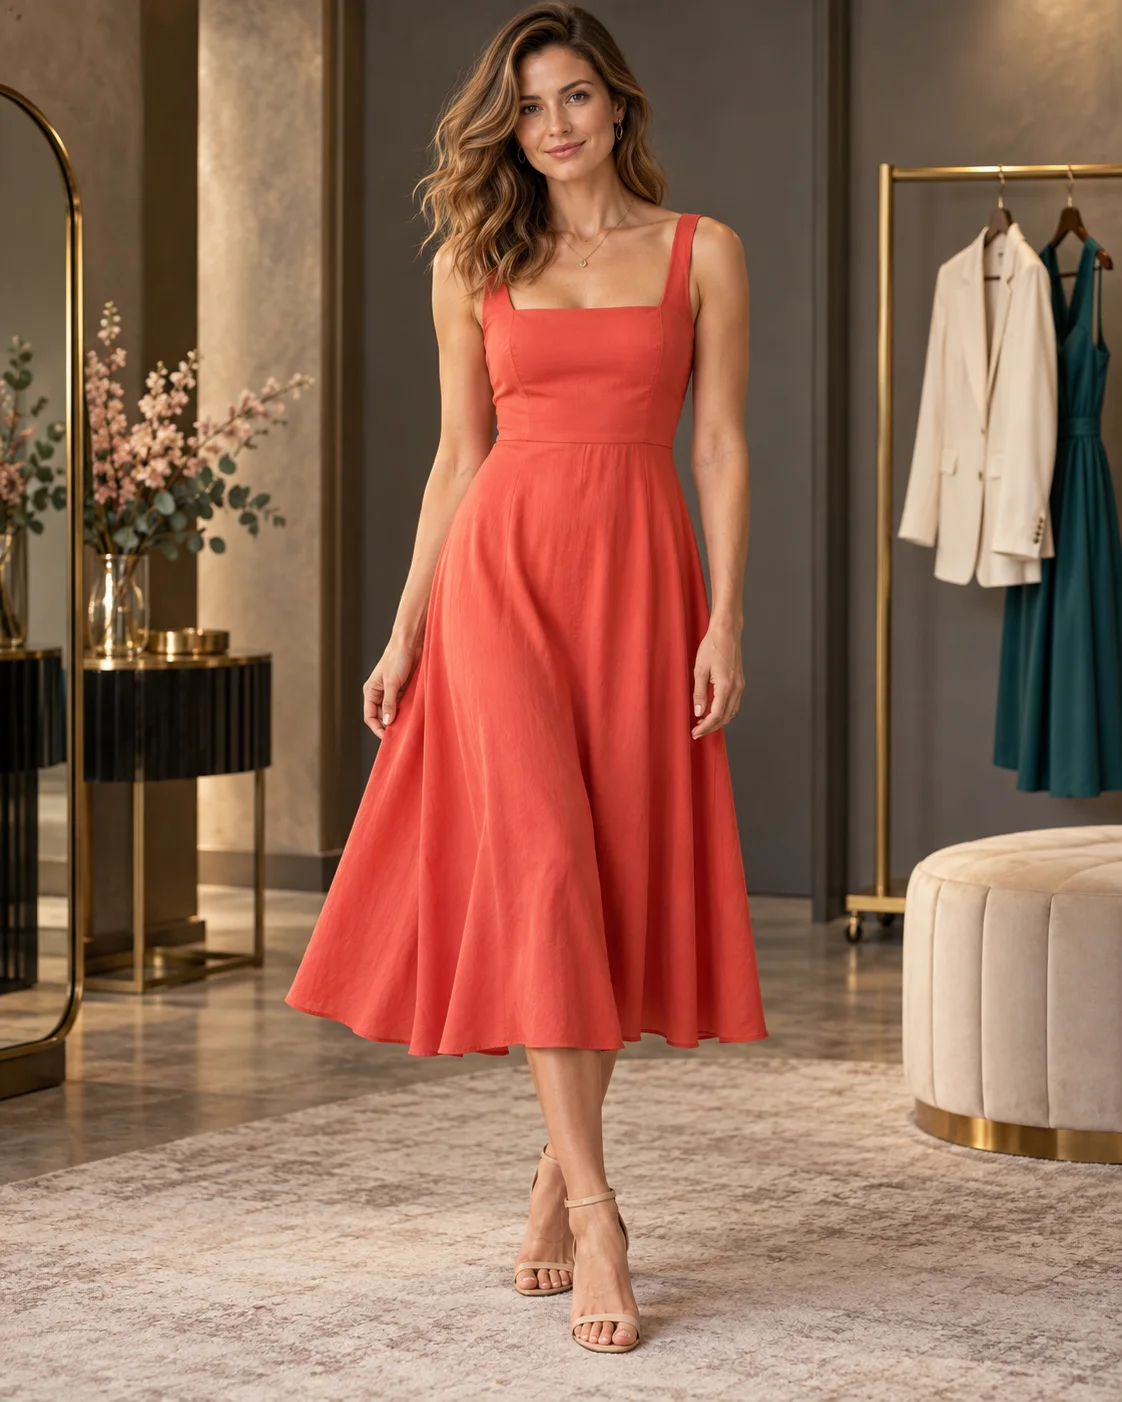
Try a different outfit in your photo
Add a photo of yourself, then choose a style or describe an outfit you’d like to see. If you have a particular garment in mind, you can add a clothing photo too. The result gives you a visual preview of the look; fit, size and fabric are approximations.
Use your own photo or one of an adult who agreed to this use. A clear standing or waist-up photo works well as a starting point. Keep the face visible and the arms relaxed, without bags or other objects covering the clothing.
Pick a style or describe your own outfit
The style choices are Evening gown, Tailored suit, Casual denim, Summer dress, Streetwear, Knitwear and Wedding guest. Start with the occasion, then add colors or fabrics in the text fields. For a wedding guest look, you might specify a muted color and a jacket; for a casual outfit, you might care more about the layers and shoes.
Keep the outfit description and extra details consistent. If you add a reference for a patterned coat, asking for a plain jacket at the same time leaves the model with conflicting directions.
Use a garment photo when the item matters
Choose a product-style photo of the clothing alone, preferably against a plain background. That makes the item easier to see and avoids adding another person’s face to the references.
The selected model receives both photos when you use this option. Even though the second image is intended to guide the clothes, the generated face, body, pose or background can change. Check patterns, buttons and seams as well: the clothing may resemble the reference without reproducing every detail.
Choose a model and quality
Flux 3 and Seedream 5.0 Pro both support your photo and the optional garment reference. You can choose Standard or High quality. Check the current price after making your selection.
Check the size of both photos for Flux 3
With Flux 3, check the person photo and the garment photo separately; each must be 256×256 px to 4 megapixels.
After cropping, check the size again: each side needs at least 256 pixels and the whole image no more than 4 megapixels, so resize the copy if it’s still too large.
Look beyond the outfit’s color
Check the silhouette, sleeve length, waist placement and fabric folds, then compare the face and hands with the original. A convincing color match can still have an odd cuff or a different neckline. For a purchase, use the retailer’s measurements and product information alongside the preview. The image can’t tell you how comfortable the clothes will be or how the fabric will drape on your body.